
Last updated September 20, 2026
Full 25-point door and opener safety check with every visit - springs, cables, rollers, tracks, and your LiftMaster or Chamberlain opener included
You get a price before we start. It does not change when the truck arrives.

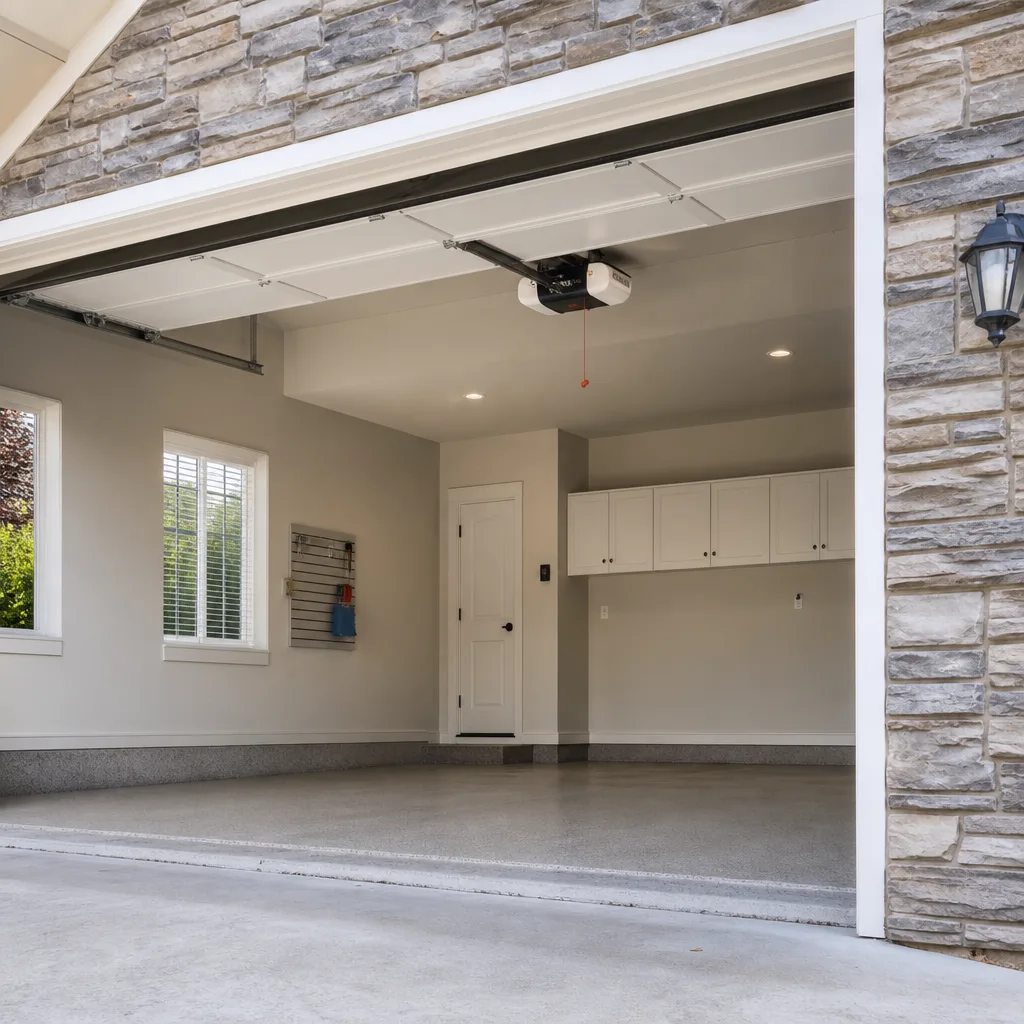
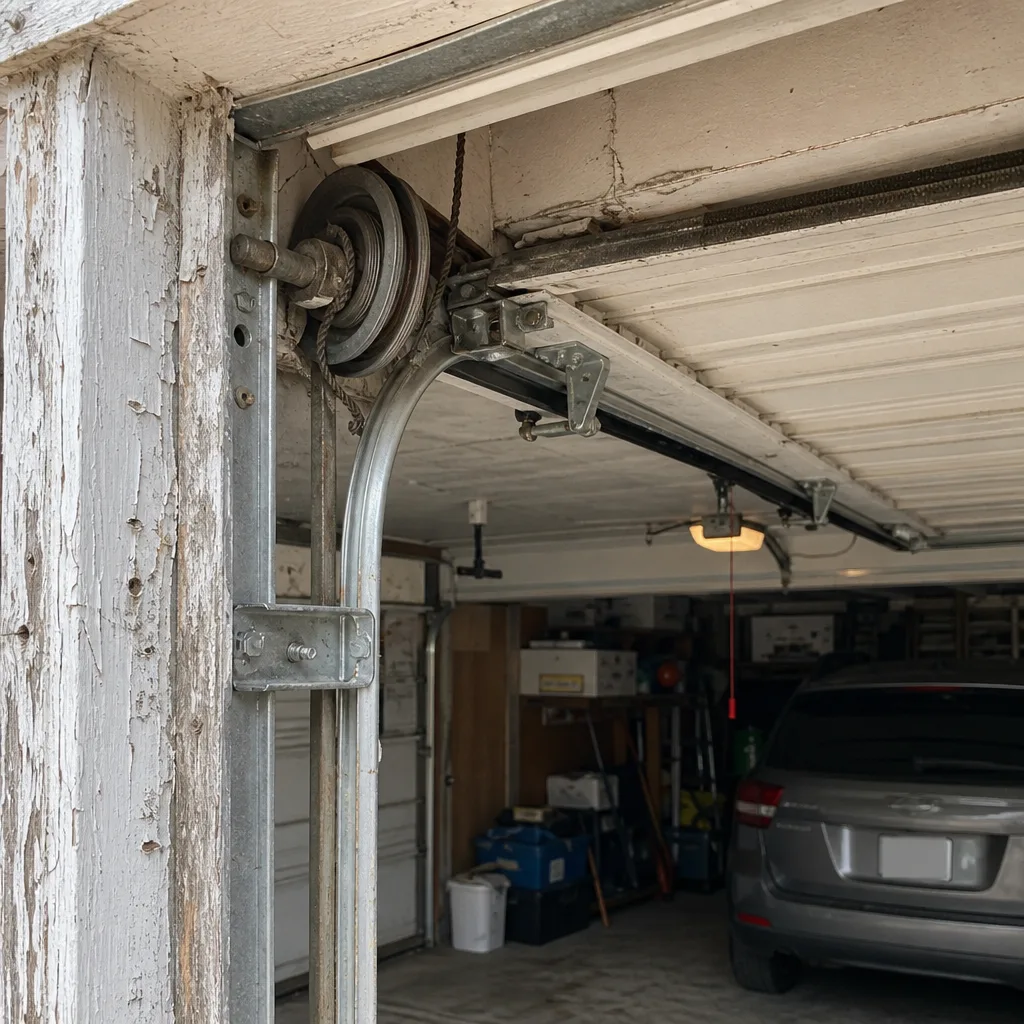 Before
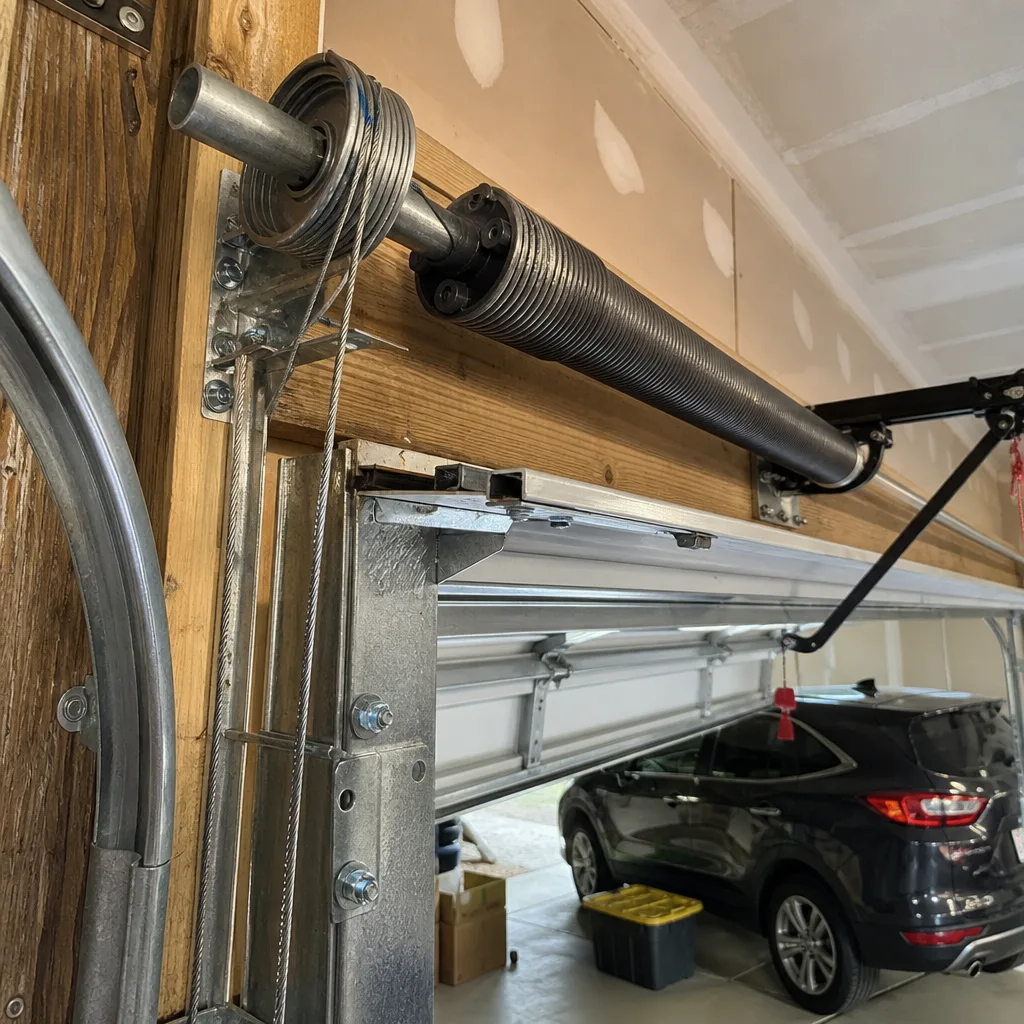 After
After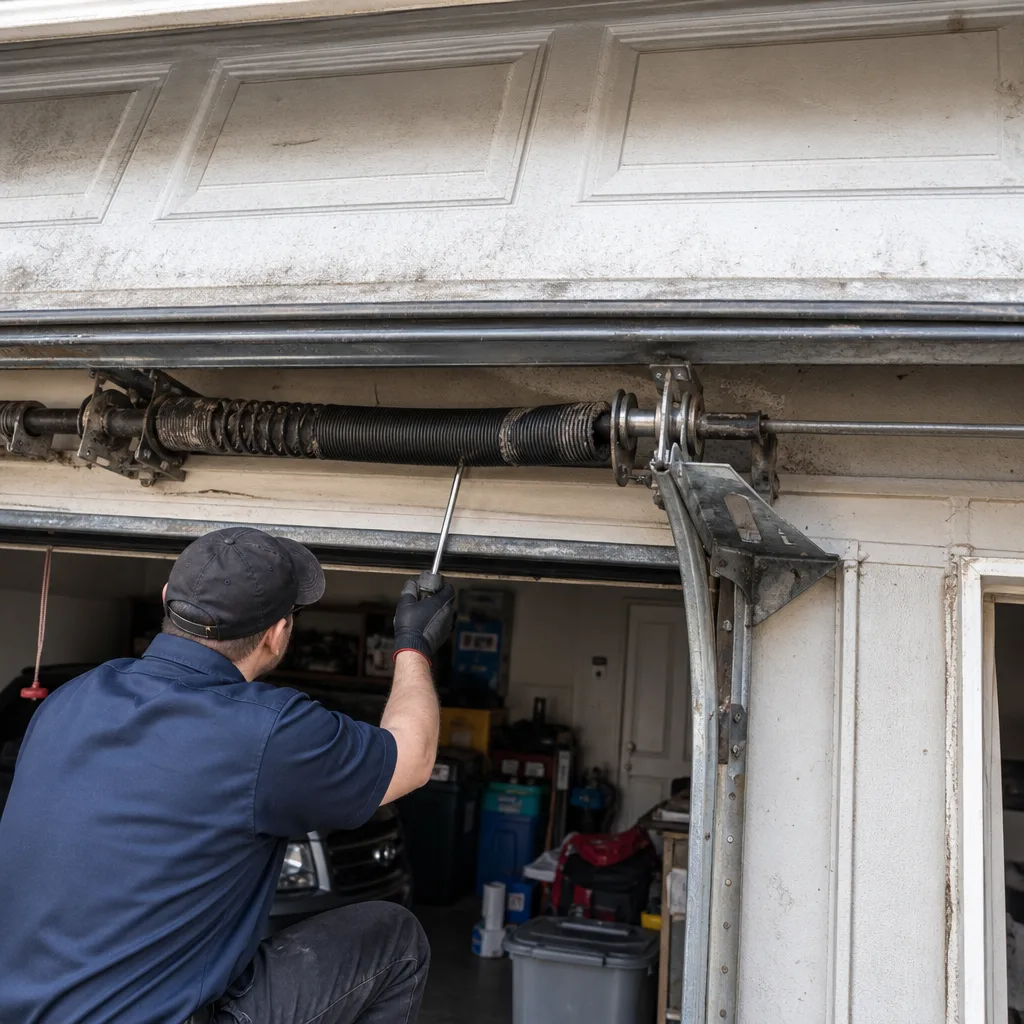 Before
 After
After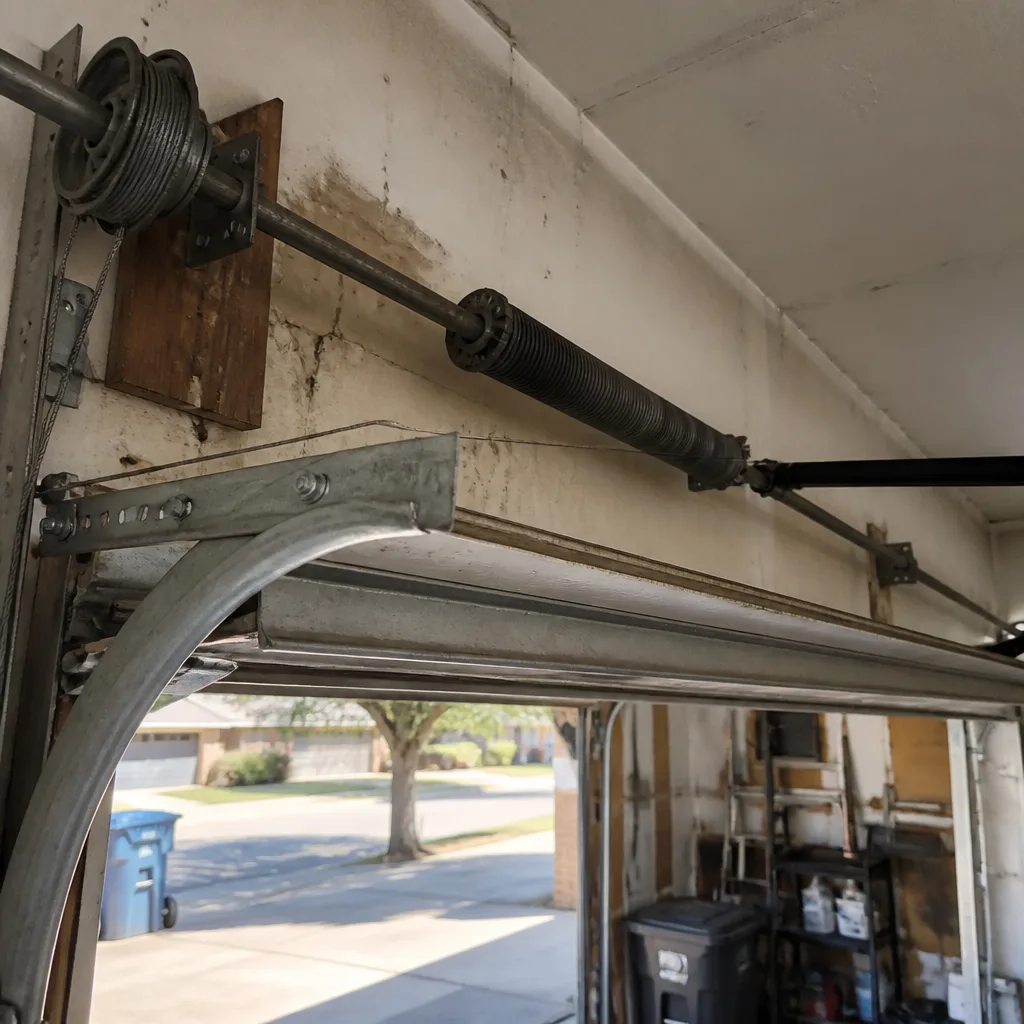 Before
 After
AfterGarage Door Repair Maintenance Checklist for Frisco Homeowners
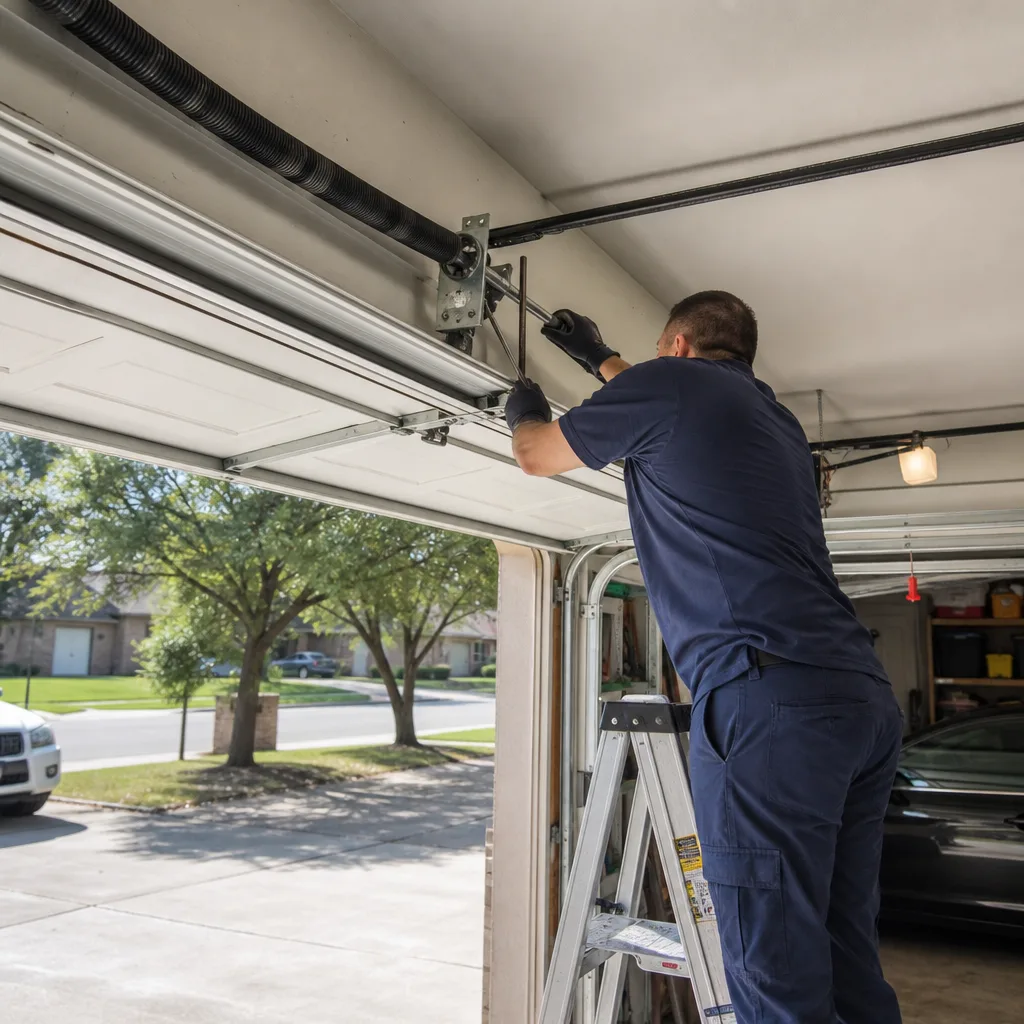
A torsion spring doesn’t snap without warning. It leaves visible signs for months: a worn cable, a slight lean in the door, a gap in the coils that wasn’t there last spring. The problem is most maintenance checklists don’t tell you what those signs actually look like, so homeowners in Frisco don’t know what to photograph, what to measure, or what genuinely needs a technician’s attention. This guide changes that. We’re going to walk through every component of your garage door, give you pass/flag/fail conditions you can see and document, and tell you exactly which items you can address yourself and which ones require our Garage Door Repair services under Texas safety code. By the end, you’ll have a maintenance system that produces the same kind of evidence a technician would collect before quoting you a repair.
Quick Answer
A garage door maintenance checklist for Frisco homeowners should cover visual inspection of torsion springs, cables, rollers, tracks, weatherstripping, and opener safety features, with items checked every 3 to 6 months depending on door age. The most useful checklist pairs each item with a specific pass/flag/fail condition you can observe and photograph, because a documented problem is what lets any contractor quote an exact repair instead of guessing. Most homeowners can handle lubrication and weatherstripping replacement with off-the-shelf products; springs, cables, and opener logic boards require a licensed technician. For more detail on what to watch for, see our Garage Door Warning Signs: A Frisco Homeowner’s Reference Guide.
Table of Contents
- Torsion Spring Inspection: What a Failing Spring Looks Like
- Cable and Drum Check: The Components That Kill Doors
- Roller and Track Evaluation: Noise Is a Symptom, Not a Problem
- Weatherstripping and the Frisco Climate: UV, Heat, and Gaps
- Lubrication and Cycle Count: Summer Intervals for High-Cycle Springs
- Opener Safety Features: Photo Eyes, Force Settings, and Auto-Reverse
- How to Photograph Flagged Components for an Accurate Quote
- What You Can Fix Yourself vs. What Requires a Technician
BeforeAfterTorsion Spring Inspection: What a Failing Spring Looks Like
The torsion spring is the component that does the actual lifting. It’s mounted on a metal shaft above the door opening, and it stores mechanical energy under high tension. When it fails, it fails violently, and a spring under tension is not something you want to be near when that happens. In Frisco, where garage doors on newer construction often see 8 to 12 cycles a day between commutes, school runs, and gym trips, the average 10,000-cycle spring lasts between 4 and 7 years. The average 20,000-cycle spring lasts 8 to 12. What matters for maintenance is not the calendar, but what you can see.
Here’s what to look for on a monthly walkaround, in plain observational terms:
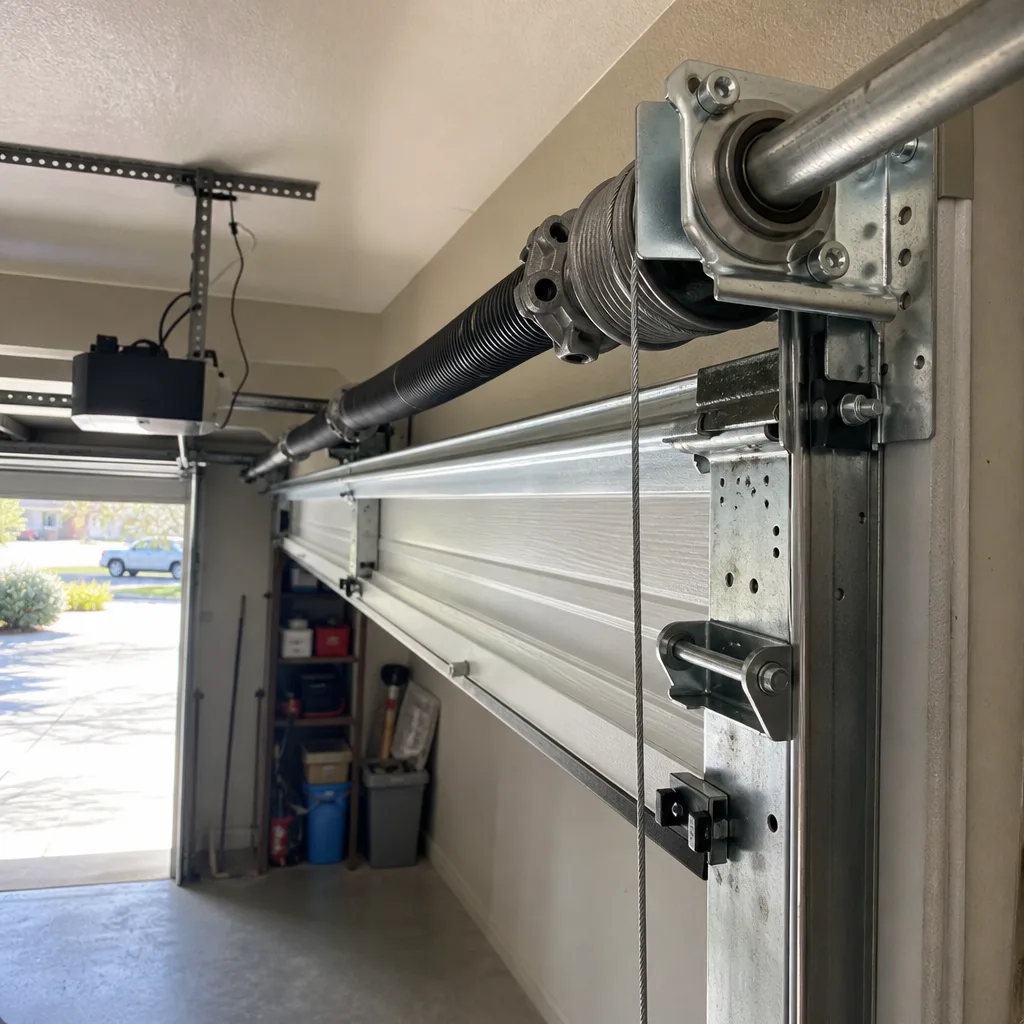
- Pass: The spring coils are tight and evenly spaced along the full length. The spring sits centered on the shaft. There’s no visible gap between coils, and the color of the spring is uniform.
- Flag: You see a visible gap between two adjacent coils near the center of the spring. That gap means the spring has stretched under load and has lost some of its rated tension. This is the earliest observable sign of fatigue, and it shows up months before a break in most cases. Photograph it from the side so the gap is visible against the shaft.
- Flag: The door feels heavier than it did six months ago when you lift it manually with the opener disengaged. A properly balanced door should stay in place at waist height when opened halfway. If it drifts down, the spring is losing tension.
- Fail: A visible break in the coil, often a clean separation with sharp edges. If you see this, do not operate the door. The spring is no longer supporting any of the door’s weight, and the opener is now carrying the full load, which will burn out the motor if you keep using it.
One thing we’ve learned from servicing garage door repair in Frisco since 2015: homeowners replace springs an average of 6 to 9 months after the first visible coil gap appears. The gap was there. They just didn’t know what it meant. A torsion spring doesn’t owe you a clean break. It tells you it’s failing, in a language most people were never taught to read.
Cable and Drum Check: The Components That Kill Doors
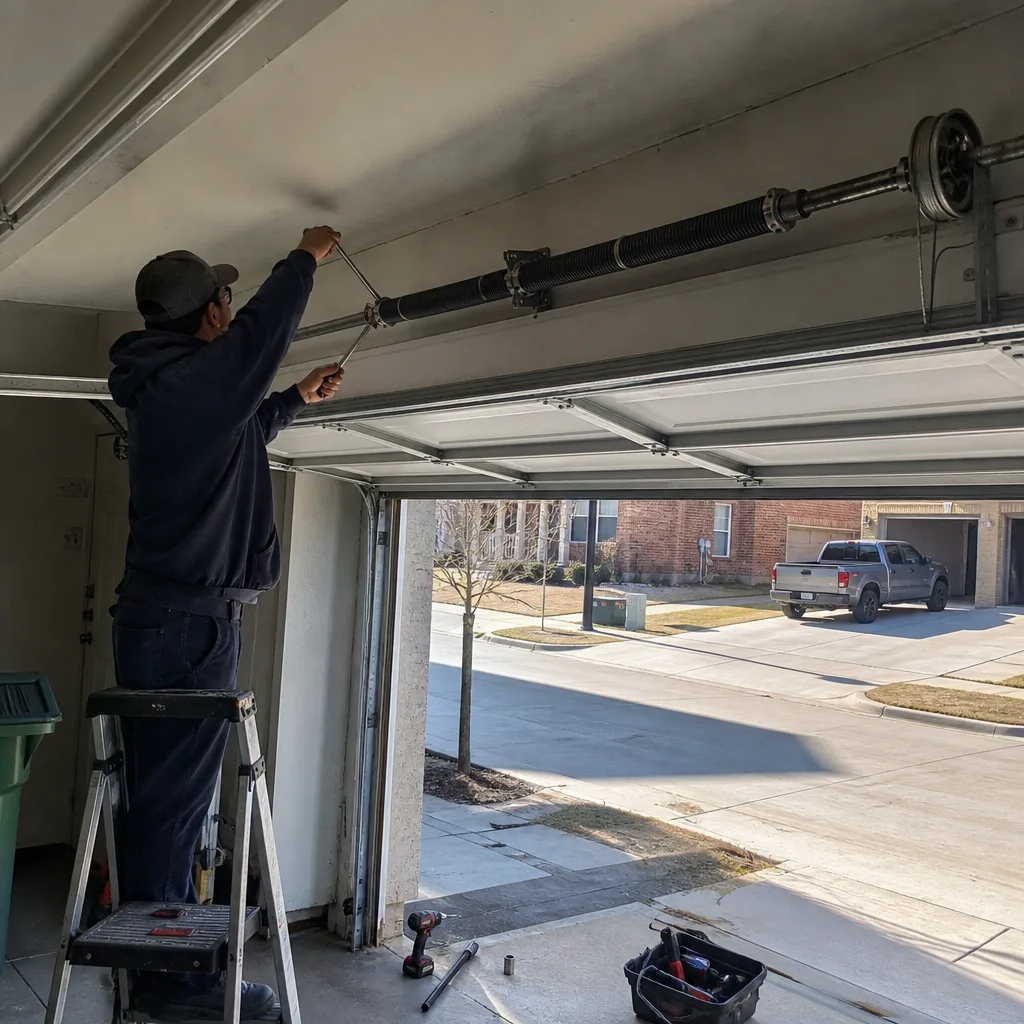
Cables are the braided steel lines that connect the bottom brackets of the door to the drums on the shaft. They transfer the spring’s stored energy into lifting force. When a cable frays, snaps, or jumps the drum, the door can drop unevenly, come off its track, or pin someone underneath. In Frisco, where a significant share of homes are two-story with bedrooms above the garage, a dropped door is not a quiet event. It’s a structural one.
This check takes under three minutes and should be done every time you’re in the garage with the door closed:
- With the door closed, look at the cable on both sides where it meets the bottom bracket. The cable should be straight, taut, and clean. Look for individual broken strands that catch the light. Run your eye along the full length from bracket to drum.
- Look at the drum itself, the grooved spool at each end of the shaft. The cable should sit in the groove like thread on a spool. If the cable is crossing over itself, riding up the drum flange, or sitting loose, that’s a flag.
- Open the door halfway and watch both cables as the door moves through the cycle. Any slack, any hesitation, any moment where one cable goes loose while the other stays tight: stop the door and photograph it.
What you’re looking for is symmetry. Both sides should move together, at the same rate, under the same tension. A frayed cable is a flag. A cable that has jumped the drum is a fail. And a cable that snaps while the door is moving is why we tell homeowners not to stand directly under a moving door. This is not a component to tighten, adjust, or “just bend back.” Any cable or drum work is a professional job, full stop.
Roller and Track Evaluation: Noise Is a Symptom, Not a Problem
Garage doors should not sound like a train derailing. If yours does, the sound is telling you something. In our experience in Frisco, noise complaints split about evenly between worn rollers, dry tracks, and a door that’s slightly out of balance. The problem is that homeowners often hear the noise and assume the whole door needs replacing, when the actual repair is a $40 to $80 roller replacement.
Here’s the observable breakdown:
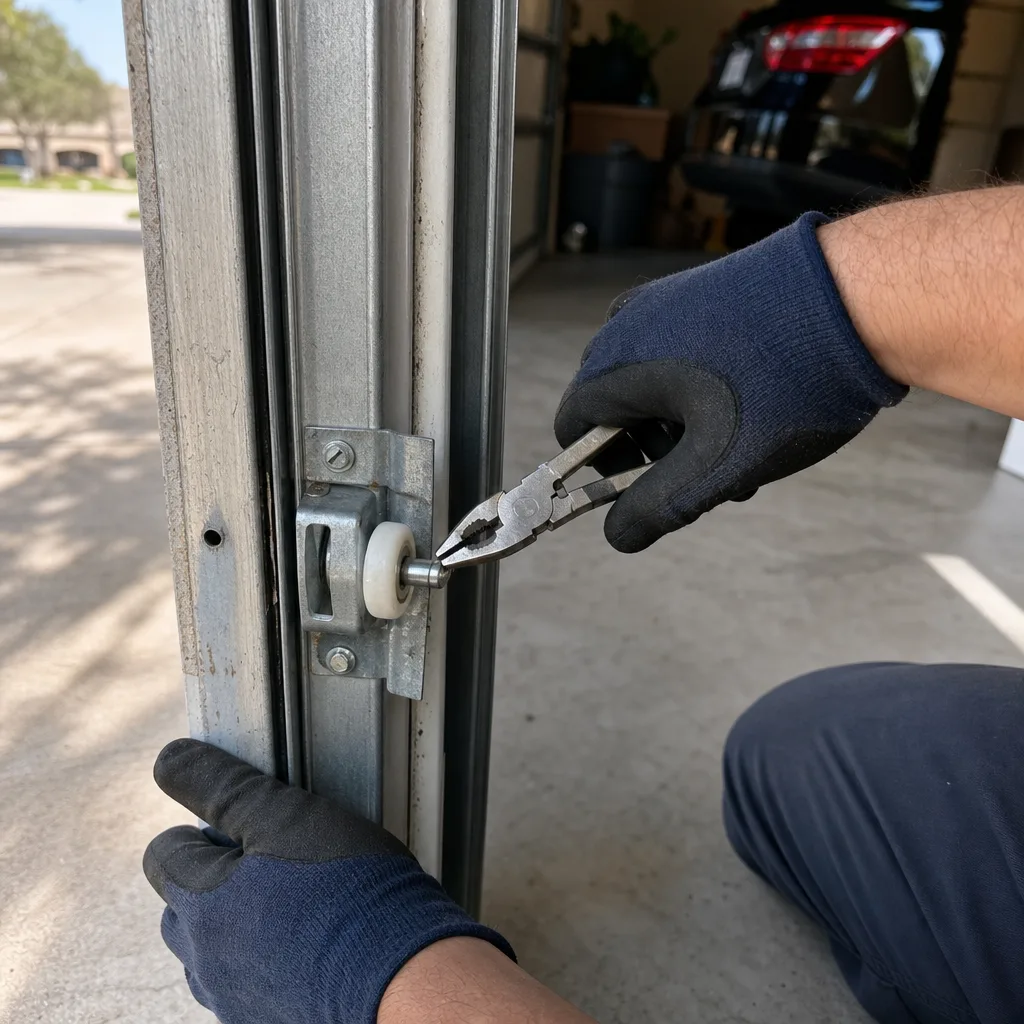
- Steel rollers with no bearings: These are builder-grade. They start to grind and flatten within 2 to 4 years in Frisco’s temperature swings. If your rollers have no visible bearing assembly (just a stamped metal wheel), flag them for replacement with nylon rollers. Nylon runs quieter and lasts longer in both cold winters and 105-degree summers.
- Worn bearings: A roller that wobbles when you touch it, or that has visible flat spots, is done. Photograph the flat spot against a ruler if you want to document the wear precisely.
- Bent track: Run your eye down the vertical track on both sides. It should be a straight, continuous line with no kinks, no visible gaps at the joints, and no sections that bow outward. A bent track is a fail, and it will only get worse as the door cycles.
- Loose mounting bolts: The track is bolted to the framing with brackets. If you can see daylight between the bracket and the wall, or if the track wiggles when you push on it lightly, tighten the bracket bolts if you’re comfortable doing so, or have a technician address it.
One Frisco-specific note: homes built during the 2018-2022 construction boom sometimes settle differently on the clay-heavy soil. A door that was perfectly balanced at installation can be slightly off three years later because the framing has moved. Roller and track wear accelerates when the door isn’t traveling true. If your door has started making noise in the last six months without any obvious cause, check the track alignment before you replace anything.
Weatherstripping and the Frisco Climate: UV, Heat, and Gaps
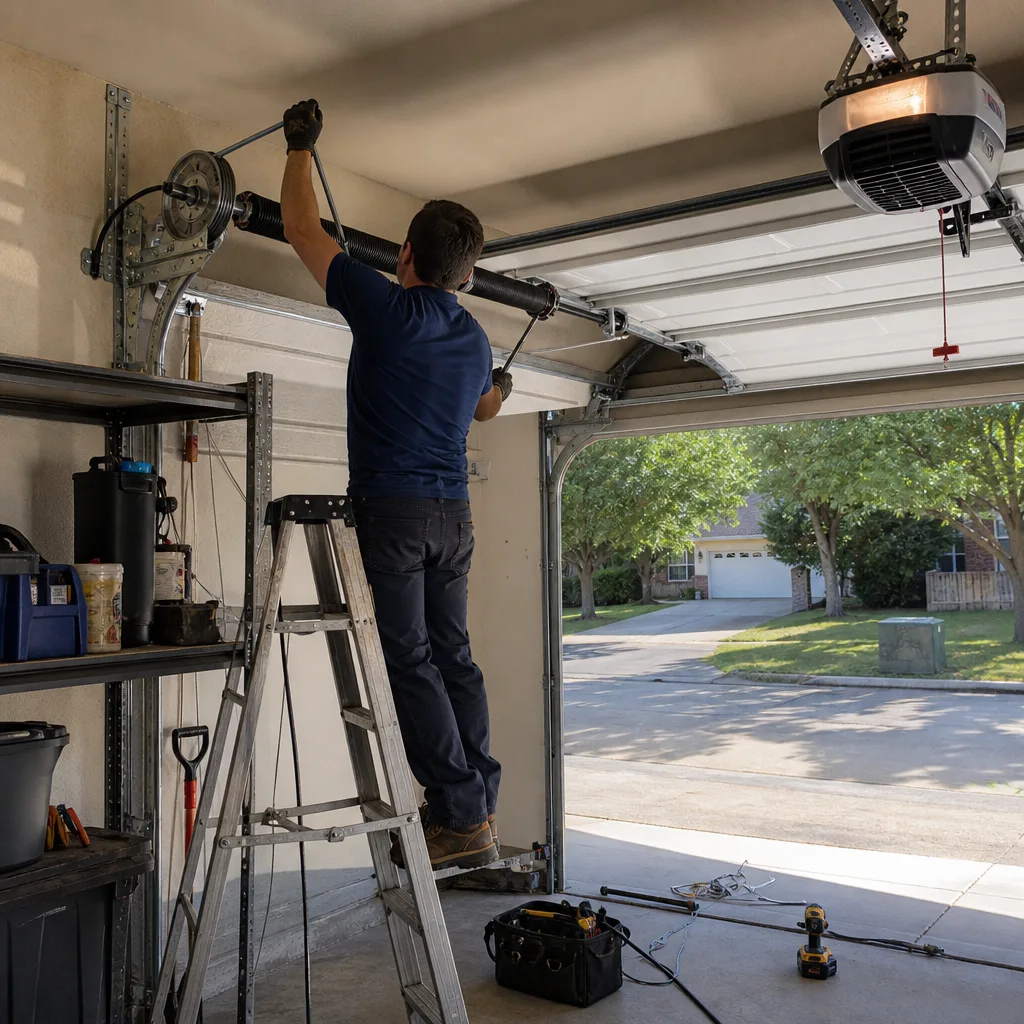
Frisco gets both ends of the weather spectrum: February nights in the 20s and August afternoons above 100. Your garage door’s weatherstripping is what keeps the outside air outside, and in Frisco, it degrades in predictable ways. The bottom seal, the rubber strip along the bottom edge of the door, takes the most abuse. It compresses every time the door closes, then bakes in the sun every afternoon on west-facing garages.
Here’s what to check, and what the conditions look like:
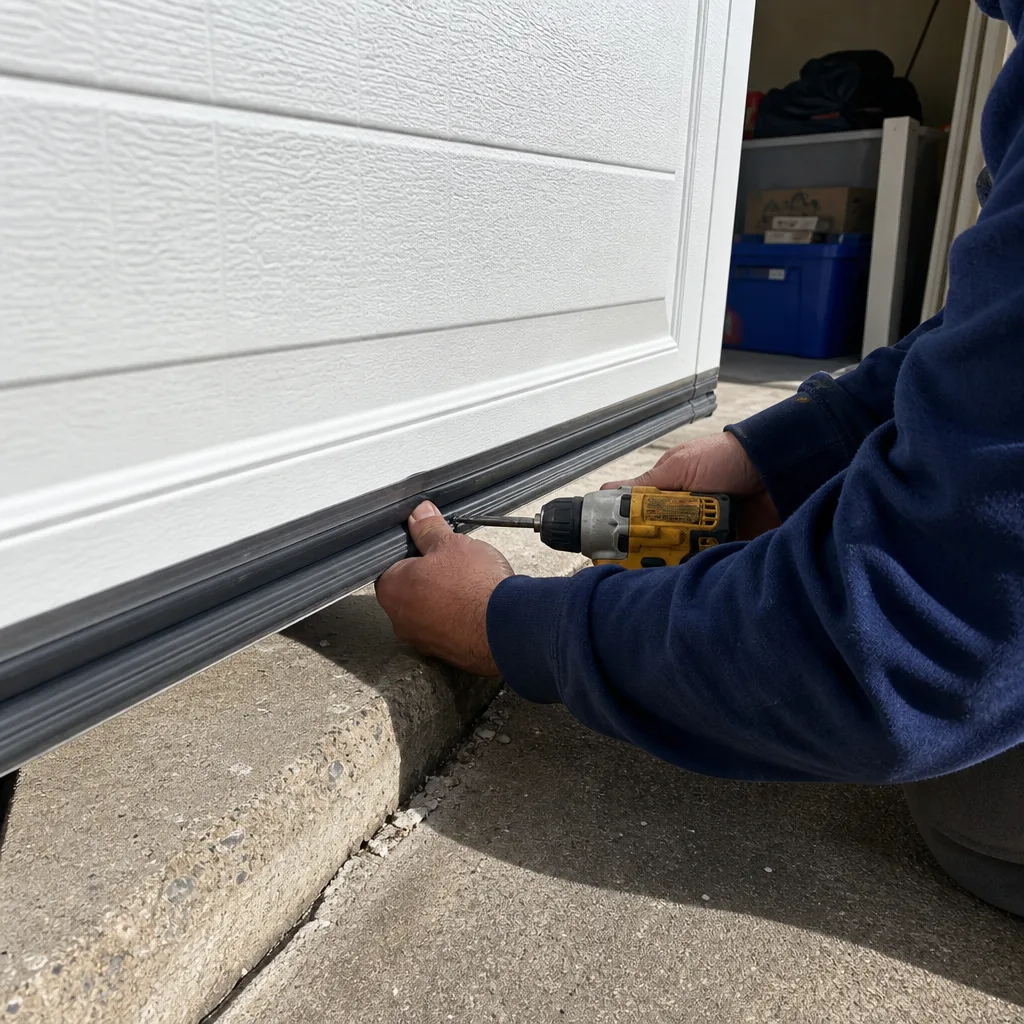
- Bottom seal: Compressed, cracked, or brittle rubber is a flag. You can test it by closing the door and looking at the seal from inside with a flashlight. If you can see light coming through anywhere along the bottom edge, the seal has failed and needs replacement. This is a $20 to $40 off-the-shelf project for most doors on the market, including Wayne Dalton and Clopay models common in Frisco.
- Side and top weatherstripping: The vinyl strips along the door jambs should sit flush against the door face when closed. In Frisco, UV exposure makes vinyl brittle in 3 to 5 years. If the strip is cracked, pulling away from the jamb, or leaving a visible gap, it’s time to replace it.
- Thermal expansion gaps: Frisco’s swing between winter lows and summer highs means your door’s metal panels expand and contract measurably. A door that seals perfectly in July may show a small gap at the top corners in January. That’s normal within about 1/8 inch. More than that, and the weatherstripping has lost its ability to compensate.
The cost of ignoring weatherstripping in Frisco is not just comfort. It’s conditioned air leaking out, pests getting in, and in the spring, dust and pollen collecting on everything you store in the garage. The replacement parts are inexpensive. The discipline of replacing them at the first sign of visible degradation is the maintenance habit that pays off.
Lubrication and Cycle Count: Summer Intervals for High-Cycle Springs
Lubrication is the one maintenance habit most Frisco homeowners know about and do wrong. They grab a can of WD-40 from the shelf, which is a penetrating oil, not a garage door lubricant. It cleans and breaks down existing grease. It does not belong on your door. What you want is a lithium-based or silicone-based spray lubricant specifically labeled for garage doors, which you can find at any home improvement store in Frisco for $8 to $14.
Here’s the maintenance schedule that matches Frisco’s climate and the average door’s cycle count:
- Springs (every 3 months): Spray the torsion spring lightly along its full length while the door is closed. The goal is a light coating that penetrates between coils, not a dripping mess. In Frisco’s summer heat, lubricant evaporates faster, which is why the standard “twice a year” advice doesn’t hold here. Every 3 months, March through October.
- Rollers (every 3 months, nylon only): A light spray at the bearing point of each roller, both sides. Do not lubricate the track itself. A lubricated track attracts dust and creates a grinding paste.
- Hinges (every 6 months): Each hinge has a pivot point. A quick shot at each pivot keeps the door panels moving smoothly as they round the curve of the track.
- Opener chain or belt (every 6 months, chain drive only): A thin lubrication on the chain itself. Belt drives need nothing.
Cycle count matters more than calendar. A Frisco household with two working adults, two school-age kids, and a dog probably cycles the door 8 to 10 times a day. That’s 3,000 to 3,700 cycles a year. If you have high-cycle springs rated at 20,000 cycles, you’re replacing them every 5 to 6 years. If your house came with builder-grade springs, which are often rated at 10,000 cycles, you’re in the 3-year range. Knowing your spring’s cycle rating, which should be printed on the spring itself or available from the installer, tells you when to budget for replacement before it becomes an emergency.
We’ve worked on thousands of doors in Frisco neighborhoods from Stonebriar to The Trails, and the ones that last longest are almost always the ones where the homeowner lubricates on schedule and knows their spring’s cycle rating. The door doesn’t care what month it is. It cares how many times it’s moved.
Opener Safety Features: Photo Eyes, Force Settings, and Auto-Reverse
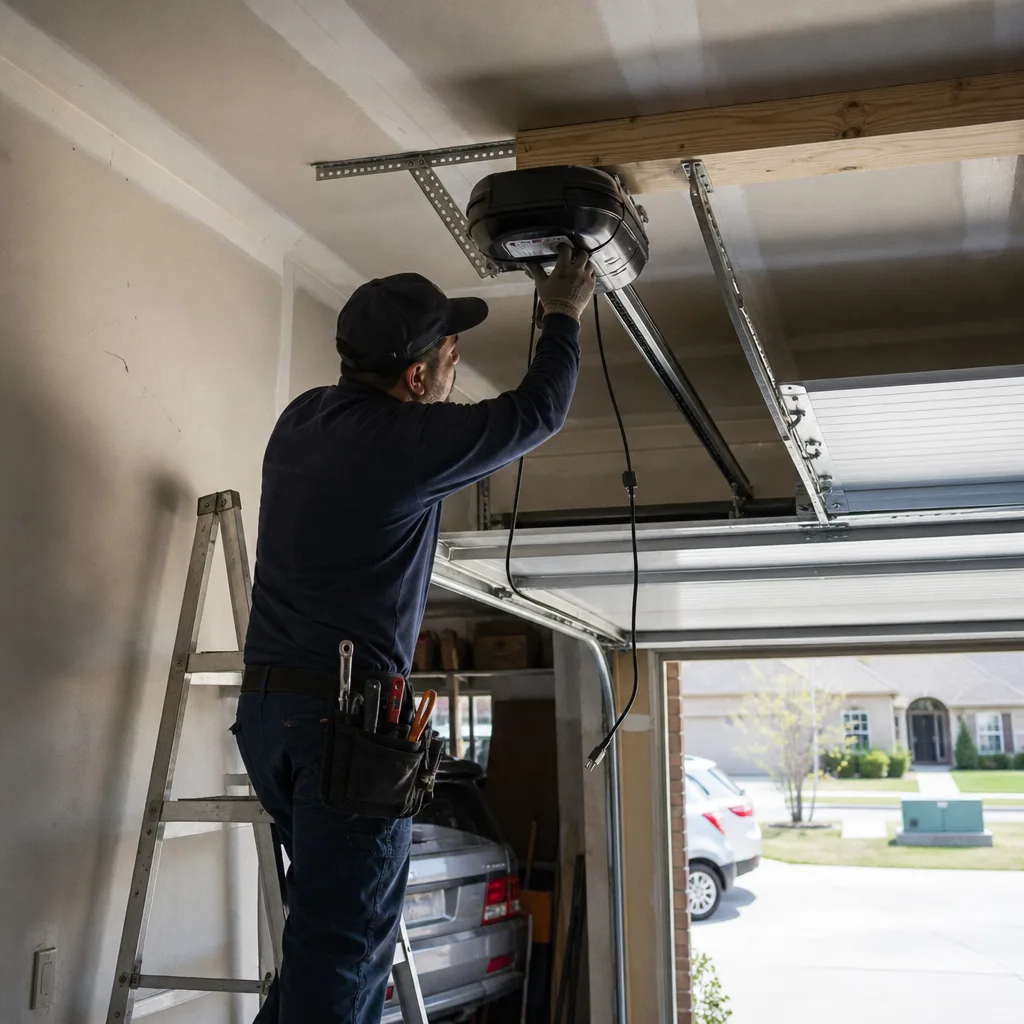
The safety features on your garage door opener exist for one reason: to prevent the door from closing on a person, a pet, or a vehicle. In Frisco, with kids riding bikes in and out of garages all summer, these features are not optional maintenance. They’re the difference between a door that stops and a door that doesn’t.
Here’s what to test, and how to test it, on a LiftMaster, Chamberlain, or Craftsman opener:
- Photo eyes (monthly): The two sensors mounted about 6 inches off the floor on each side of the door opening. Check that both have solid indicator lights (green or red, depending on model). Wave your hand in front of one while the door is closing. The door should stop and reverse immediately. If it doesn’t, wipe the lenses with a dry cloth and test again. If it still doesn’t reverse, flag it for service.
- Auto-reverse (quarterly): Place a 2×4 flat on the floor under the door’s path and close the door. The door should contact the board and reverse within 2 seconds. If it keeps pressing down, the force setting is too high, and that’s a fail condition. Do not keep using the door until it’s corrected.
- Force setting check (annually): This is a two-person job. One person holds the bottom of the door while it closes. The door should reverse with light resistance. If one person can stop the door from closing with gentle pressure, the force setting is set correctly. If the door keeps pushing, it needs adjustment, and that adjustment is in the opener’s programming, not in the mechanical components.
Most modern openers self-monitor the photo eyes and will refuse to close if the beam is blocked, but the auto-reverse force setting is mechanical and can drift. A door that’s been cycling 8 to 10 times a day for 4 years in Frisco’s temperature swings will have a force setting that’s no longer what it was at installation. Testing it quarterly takes 60 seconds and tells you if the opener is working safely.
If you’re considering an opener upgrade, our garage door opener repair and installation service in Frisco covers all major brands without pushing a replacement you don’t need.
How to Photograph Flagged Components for an Accurate Quote
This section is the reason this checklist exists. When you photograph a flagged component, you’re not just documenting a problem. You’re creating the evidence base that lets any contractor quote a specific repair instead of a vague one. A photo of a torsion spring with a visible coil gap tells a technician what they’re bidding on before they ever drive to your house. A photo of a frayed cable tells them which side, which bracket, and how urgent it is.
Here’s the method we recommend, and it’s the same method our technicians follow under The Haven Standard:
- Wide shot first: Stand about 8 feet back and photograph the entire door, closed, in good light. This gives context for where the flagged component sits.
- Mid shot: Move to about 3 feet and photograph the specific area: the spring shaft, the cable drum, the bottom bracket, the photo eye.
- Close-up with scale: Get within 6 to 12 inches of the flagged component and include an object of known size in the frame: a quarter, a ruler, a pen. For a spring coil gap, place a penny in the gap so the width is measurable in the photo. For a frayed cable, spread the broken strands so they’re individually visible.
- Video while moving: For anything that involves movement (a wobbling roller, a hesitating opener, an uneven door), take a 5-second video. Movement is hard to photograph.
- Timestamp and label: Most smartphones embed date and time in the photo metadata automatically. When you send photos, note which door (if you have multiple), which side, and what you observed. “Right side cable, frayed near bottom bracket” is a complete note.
Clause 4 of The Haven Standard is why every Servo technician photographs the failed component before quoting a replacement. That rule traces back to our founding in 2015: the customer sees the failed part before anyone quotes a replacement. You can do the same thing on your end, before anyone arrives, and it will produce a more accurate quote from any contractor you call. Not sure who to trust? Read How to Hire a Garage Door Contractor in Frisco: A Step-by-Step Guide. If you have a written estimate from another company and want a second set of eyes on the documented problem, we offer a Free Second Opinion on any competing written estimate, no coupon required. Bring the paperwork and the photos, and we’ll tell you what we’d quote for the same scope.
What You Can Fix Yourself vs. What Requires a Technician
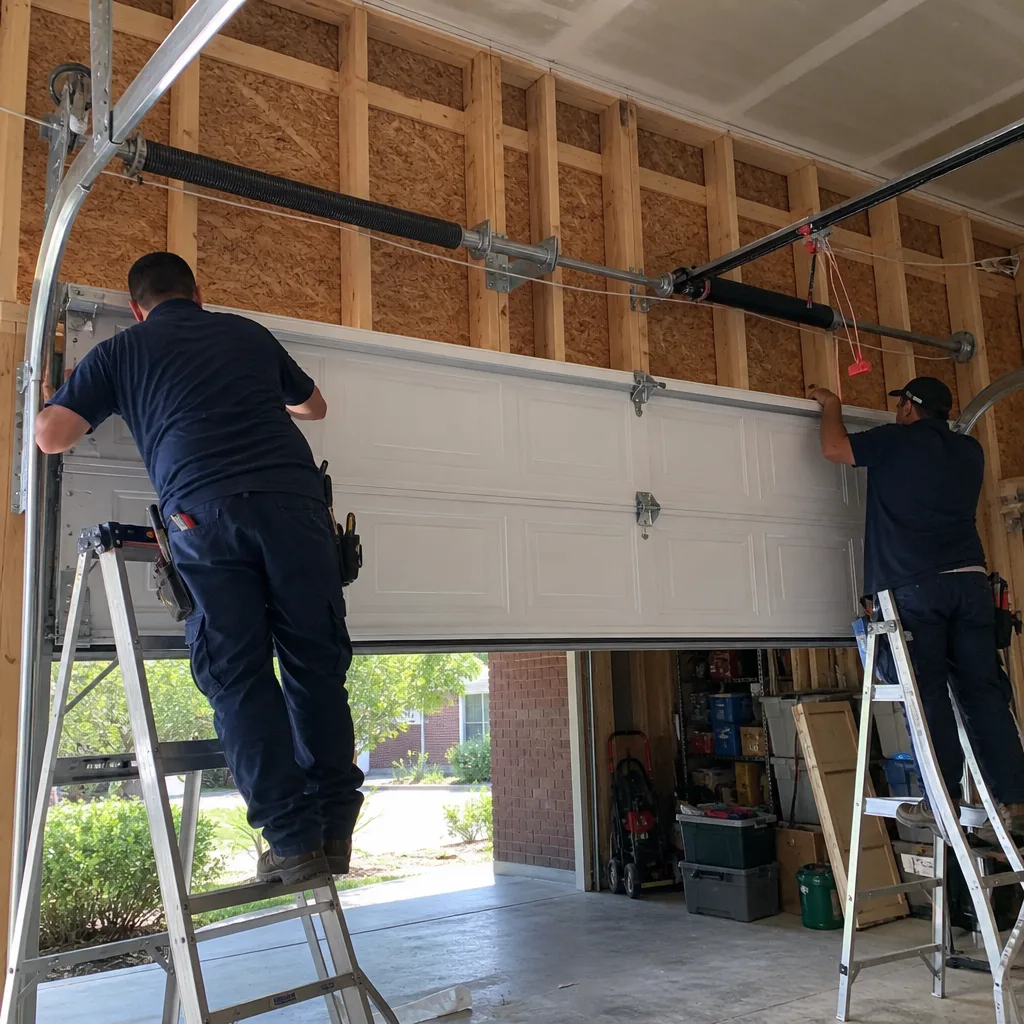
Texas safety code is clear about which garage door repairs are professional work, and for good reason. The torsion spring, the cables, the drums, and anything attached to them are under enough tension to cause serious injury or death if mishandled. Our position as a company that’s been doing garage door installation in Frisco since 2015 is straightforward: if the repair involves touching a component under tension, it’s a technician’s job, and no amount of YouTube research changes that.
Here’s the split:
Homeowner-appropriate (off-the-shelf, no special tools):
- Lubrication of springs, rollers, and hinges (doors closed, spray from the side)
- Weatherstripping replacement (bottom seal, side strips, top seal)
- Photo eye cleaning and alignment (the sensors have built-in indicators; you’re wiping lenses, not disassembling)
- Tightening accessible mounting bolts on tracks and brackets (light pressure, no force on loaded components)
- Battery replacement in remotes and keypads
Professional-only (under Texas safety code and practical safety):
- Torsion spring replacement or adjustment (always under tension)
- Cable replacement or re-spooling on the drum (connected to the spring system)
- Track repairs that involve bending, shimming, or re-mounting (the door’s weight is on those tracks)
- Opener force-setting adjustments or logic board replacement (electric and mechanical, both hazards)
- Any repair you can’t complete with both feet on the ground and no part of your body under the door’s path
The shortcut: if you have to ask whether a repair is safe to attempt, it isn’t. We carry the parts on the truck for all eight major brands, and our technicians are background-checked and uniformed on every job. The estimate is a flat, written price before any work starts, per Clause 1 of The Haven Standard. No exceptions, and no surprise invoices.
Common Mistakes to Avoid
- Lubricating the track. The track is not a moving part; the rollers move within it. Lubricating the track attracts dust and creates exactly the grinding paste you’re trying to prevent. Lubricate the roller bearings and leave the track alone.
- Using WD-40 on the door. It’s a penetrating oil designed to break down corrosion and old lubricant. It will strip the existing grease from your hinges and springs and leave them dry. Use a garage-door-specific lithium or silicone spray.
- Ignoring a visible coil gap because the door still opens. That gap is the spring telling you it’s lost tension. The door still opens because the opener is compensating, which means the opener motor is working harder than it should. Every month you ignore the gap is a month of wear on a motor that costs more than the spring replacement.
- Testing auto-reverse by hand instead of with a solid object. Your hand gives, a 2×4 doesn’t. The test exists to simulate a child or a pet under the door. Use a solid object and watch what the door does.
- Replacing only one spring when both are worn. Torsion springs wear in pairs because they cycle together. Replacing one while leaving the other means the door is unbalanced from day one of the new spring’s life. A proper spring replacement addresses both springs, and any technician who quotes only one is cutting a corner you’ll pay for later.
- Thinking “garage door maintenance” is a once-a-year task. In Frisco’s climate, with a high-cycle door, the intervals are shorter. Lubrication every 3 months, photo eye tests monthly, weatherstripping inspection every season change. The calendar is a starting point, not the rule. The door’s actual cycle count is the rule.
When to Call a Professional
You should call a technician when you see a visible spring coil gap, a frayed or jumped cable, a door that won’t stay in place at the halfway point, or an opener that fails the 2×4 auto-reverse test. These are not “watch and wait” conditions. They’re documented evidence of a component that’s already failing, and the repair gets more expensive the longer you wait. You should also call if you’ve flagged components and don’t know how to interpret what you’re seeing. That’s what a free estimate is for. For more guides & resources on garage door care, visit our blog. Servo Garage Doors Frisco offers free estimates in Frisco, and every estimate is a flat, written price delivered before any work begins. Call (940) 290-8313 and a live person answers, 24/7, including holidays.
Frequently Asked Questions
Do a full visual inspection every 3 months in Frisco, with lubrication on the same schedule from March through October. Photo eye testing should happen monthly, and weatherstripping inspection should happen at every season change. The actual frequency that matters is tied to your door’s cycle count, which in Frisco averages 3,000 to 3,700 cycles per year for a busy household. If your door is over 8 years old or you cycle it more than 10 times a day, move to monthly inspections. Call (940) 290-8313 to have our team walk you through your first inspection at no cost.
A failing torsion spring shows a visible gap between adjacent coils near the center of the spring, often a quarter-inch or wider where the metal has stretched and lost tension. You may also notice the door drifting down when opened halfway, or hear a squeaking noise from the spring on every cycle that wasn’t there before. If you see a gap, photograph it with a coin in the frame for scale, then call for service before the spring breaks. Call (940) 290-8313 for a written quote on spring replacement, priced before any work starts.
Yes, weatherstripping replacement is a homeowner-appropriate job for most Frisco garage doors. The bottom seal slides out of its retainer channel and the replacement slides back in, and the side and top strips are attached with staples or nails. You’ll spend $20 to $40 per seal at any Frisco hardware store, and the job takes under an hour for a standard two-car garage door. If the door has a retainer that’s corroded or the framing has shifted, that’s the point where a technician should look at it. Call (940) 290-8313 if you’re not sure which seal fits your specific door model.
Heat makes metal expand, and in Frisco’s 100-degree afternoons, the expansion of your door’s components changes every clearance in the system. The most common cause is rollers that are already worn running tighter in expanded tracks, which produces the grinding noise you hear in July but not January. Lubricate the roller bearings with a silicone or lithium spray every 3 months through the summer, and if the noise persists, check for flat spots on the rollers. Call (940) 290-8313 and describe the noise; we’ll tell you over the phone whether it sounds like rollers, hinges, or something more expensive.
A professional maintenance visit should include a full inspection of the springs, cables, drums, rollers, hinges, tracks, weatherstripping, and opener safety features, with photos taken of any flagged component. The technician should provide a flat, written price for any recommended repairs before doing the work, and a photo record of what was found and what was completed when they leave. At Servo, the documented photo record is included on every visit, not optional, and compliance with The Haven Standard means the price is written before any work starts. Call (940) 290-8313 to schedule a maintenance visit in Frisco.
Builder-grade 10,000-cycle springs last about 3 to 4 years in Frisco for a busy household, while 20,000-cycle springs last 6 to 8 years. Frisco’s climate doesn’t shorten spring life directly, but the high cycle counts typical of Frisco households do. The best way to know where you are is to check the cycle rating printed on the spring itself. If your spring doesn’t have a visible rating, you can still watch for the coil gap and the door drifting down, which tell you replacement is approaching regardless of age.
The Bottom Line
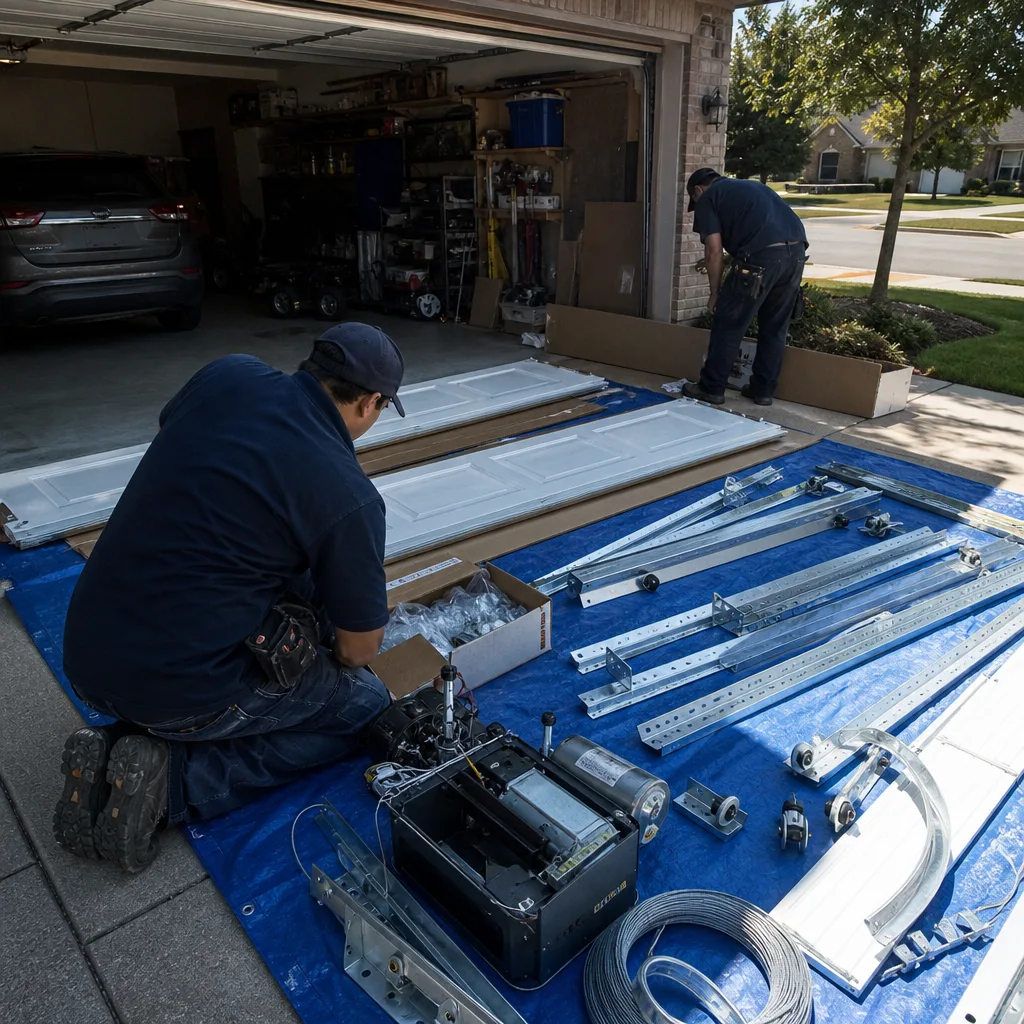
A garage door maintenance checklist is only worth the paper it’s printed on if it tells you what a failing component looks like before it fails. The torsion spring leaves a visible coil gap. The cable shows frayed strands. The weatherstripping cracks and pulls away. The opener force setting drifts. None of these are mysteries, and none of them require specialized training to spot. What they require is a homeowner who knows what to look for, photographs what they find, and understands which fixes are safe to attempt and which require a licensed technician. That’s the entire system. If you’re in Frisco and you want a documented inspection from the team at Servo Garage Doors Frisco, call (940) 290-8313. The estimate is free, the price is written before any work starts, and you’ll leave with photos of everything we found.
Written by Marcus Deller, Owner at Servo Garage Doors Frisco, serving Frisco since 2015.